


引言
图像处理是计算机视觉中的一个核心任务,其中一个常见的需求就是对图像进行校正和预处理。本文将详细介绍如何通过Python中的OpenCV库,对图像进行自动旋转校正、透视变换和去噪处理,最终得到一个清晰的、无边界的图像。
环境配置
在开始之前,请确保你已经安装了以下Python库:
OpenCV
Imutils
Numpy
Scipy
Matplotlib
1. 图像旋转矫正
首先,我们需要通过霍夫变换检测图像中的直线,计算出图像的旋转角度,并将图像旋转至水平。
import cv2
import imutils
import numpy as np
import math
from scipy import ndimage
import os
import matplotlib.pyplot as plt

def rotate_image(img_for_box_extraction_path):
    image_height = 1080
    image = cv2.imread(img_for_box_extraction_path)
    img = imutils.resize(image, height=image_height)
    gray = cv2.cvtColor(img, cv2.COLOR_BGR2GRAY)
    (thresh, blur_gray) = cv2.threshold(gray, 128, 255, cv2.THRESH_BINARY_INV | cv2.THRESH_OTSU)

    kernel = cv2.getStructuringElement(cv2.MORPH_RECT, (30, 1))
    morhp_img = cv2.morphologyEx(blur_gray, cv2.MORPH_OPEN, kernel, (-1, -1))
    cv2.imwrite('tmp1/linesDetected.jpg', morhp_img)

    kernel = cv2.getStructuringElement(cv2.MORPH_RECT, (3, 3), (-1, -1))
    lines_img = cv2.dilate(morhp_img, kernel, iterations=1)
    cv2.imwrite('tmp1/lines_dilated.jpg', lines_img)

    low_threshold = 50
    high_threshould = 150
    edges = cv2.Canny(lines_img, low_threshold, high_threshould)
    lines = cv2.HoughLinesP(edges, rho=1, theta=np.pi/180, threshold=15, lines=np.array([]), minLineLength=50, maxLineGap=20)

    angles = []
    for line in lines:
        for x1, y1, x2, y2 in line:
            angle = math.degrees(math.atan2(y2 - y1, x2 - x1))
            angles.append(angle)

    if not os.path.exists('tmp1'):
        os.makedirs('tmp1')

    median_angle = np.median(angles)
    img_rotated = ndimage.rotate(image, median_angle)
    print("Angle is {}".format(median_angle))

    cv2.imwrite('tmp1/rotated.jpg', img_rotated)
    return median_angle

rotate_image(r'E:\Machinelearningpractices\C3\test.jpg')
以上代码通过霍夫变换检测图像中的直线,并计算出图像的旋转角度。最终,将图像旋转至水平状态。
2. 四点透视变换
在图像旋转矫正后,我们需要进行透视变换以矫正图像中的倾斜或变形。通过四个点的坐标进行透视变换,可以得到一个新的图像视角。
def order_points(pts):
    rect = np.zeros((4, 2), dtype='float32')
    s = pts.sum(axis=1)
    rect[0] = pts[np.argmin(s)]
    rect[2] = pts[np.argmax(s)]
    diff = np.diff(pts, axis=1)
    rect[1] = pts[np.argmin(diff)]
    rect[3] = pts[np.argmax(diff)]
    return rect

def four_point_transform(image, pts):
    rect = order_points(pts)
    (tl, tr, br, bl) = rect
    widthA = np.sqrt(((br[0] - bl[0]) ** 2) + ((br[1] - bl[1]) ** 2))
    widthB = np.sqrt(((tr[0] - tl[0]) ** 2) + ((tr[1] - tl[1]) ** 2))
    maxWidth = max(int(widthA), int(widthB))

    heightA = np.sqrt(((tr[0] - br[0]) ** 2) + ((tr[1] - br[1]) ** 2))
    heightB = np.sqrt(((tl[0] - bl[0]) ** 2) + ((tl[1] - bl[1]) ** 2))
    maxHeight = max(int(heightA), int(heightB))

    dst = np.array([[0, 0], [maxWidth - 1, 0], [maxWidth - 1, maxHeight - 1], [0, maxHeight - 1]], dtype='float32')
    M = cv2.getPerspectiveTransform(rect, dst)
    return cv2.warpPerspective(image, M, (maxWidth, maxHeight))

def warp_image(image_height, image):
    image = cv2.imread(image)
    orig = image.copy()
    ratio = image.shape[0] / float(image_height)
    image = imutils.resize(image, height=image_height)
    gray = cv2.cvtColor(image, cv2.COLOR_BGR2GRAY)
    gray = cv2.adaptiveThreshold(gray, 255, cv2.ADAPTIVE_THRESH_MEAN_C, cv2.THRESH_BINARY_INV, 11, 0)

    plt.subplot(121), plt.imshow(orig), plt.title('Original')
    plt.xticks([]), plt.yticks([])
    plt.subplot(122), plt.imshow(gray), plt.title('Gray')
    plt.xticks([]), plt.yticks([])
    plt.savefig('output.png')

    major = cv2.__version__.split('.')[0]
    if major == '3':
        _, countours, hierarchy_ = cv2.findContours(gray, cv2.RETR_LIST, cv2.CHAIN_APPROX_SIMPLE)
    else:
        countours, hierarchy = cv2.findContours(gray, cv2.RETR_LIST, cv2.CHAIN_APPROX_SIMPLE)

    countours = sorted(countours, key=cv2.contourArea, reverse=True)
    screen_cnt = None

    for c in countours:
        epsilon = cv2.arcLength(c, True)
        approx = cv2.approxPolyDP(c, 0.02 * epsilon, True)
        area = cv2.contourArea(c)

        if area < 2500:
            continue
        if len(approx) == 4:
            screen_cnt = approx
            break

    if screen_cnt is None:
       return -1, orig

    warped = four_point_transform(orig, screen_cnt.reshape(4, 2) * ratio)

    cv2.drawContours(image, [screen_cnt], -1, (0, 255, 0), 2)
    for point in screen_cnt.reshape(4, 2):
        cv2.circle(image, (point[0], point[1]), 5, (0, 0, 255), 4)
    plt.subplot(121), plt.imshow(image), plt.title('Original')
    plt.xticks([]), plt.yticks([])
    plt.subplot(122), plt.imshow(warped), plt.title('Warped')
    plt.xticks([]), plt.yticks([])
    plt.savefig('output2.png')
    cv2.imwrite(r'E:\Machinelearningpractices\C3\tmp\warped.jpg', warped)

    return 0, warped

warp_image(500, r'E:\Machinelearningpractices\C3\tmp1\rotated.jpg')
以上代码通过检测图像中的四个角点,并进行透视变换,使得图像中的倾斜或变形得以矫正。
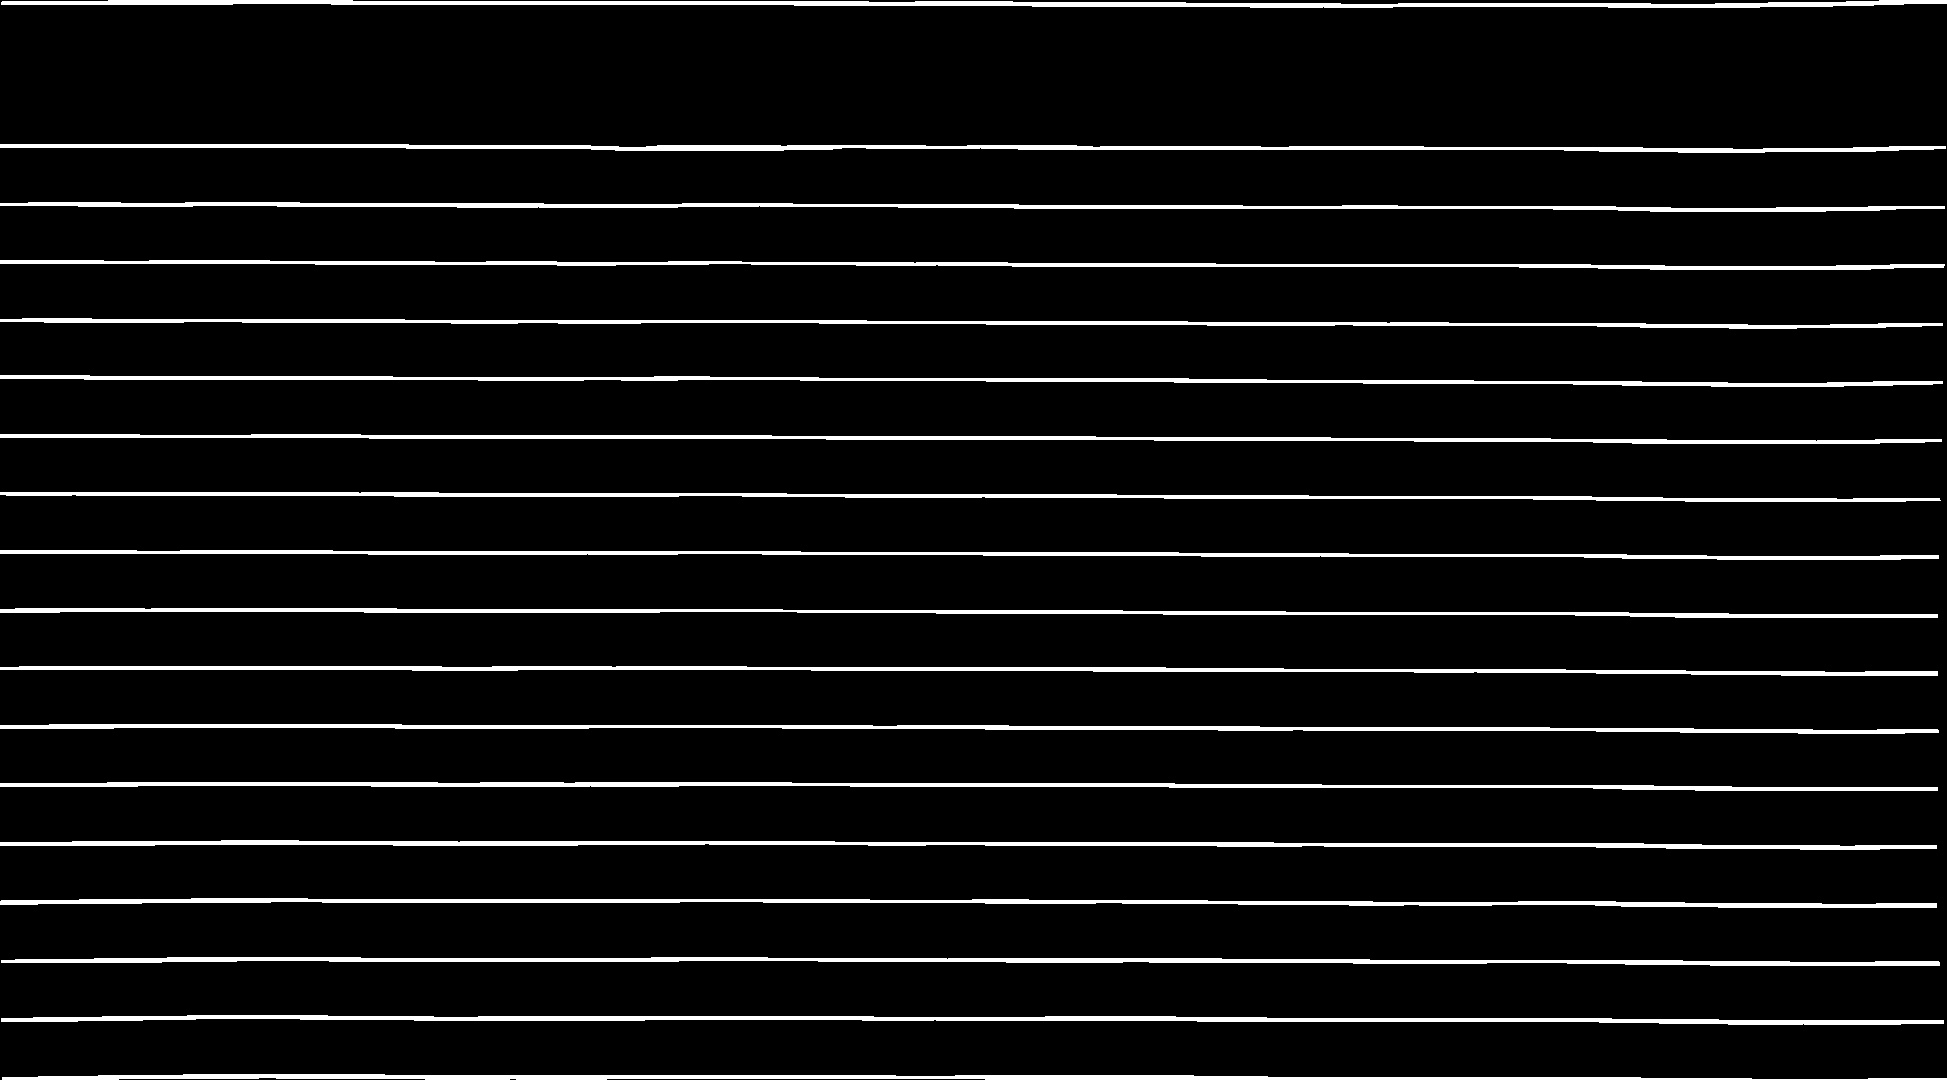
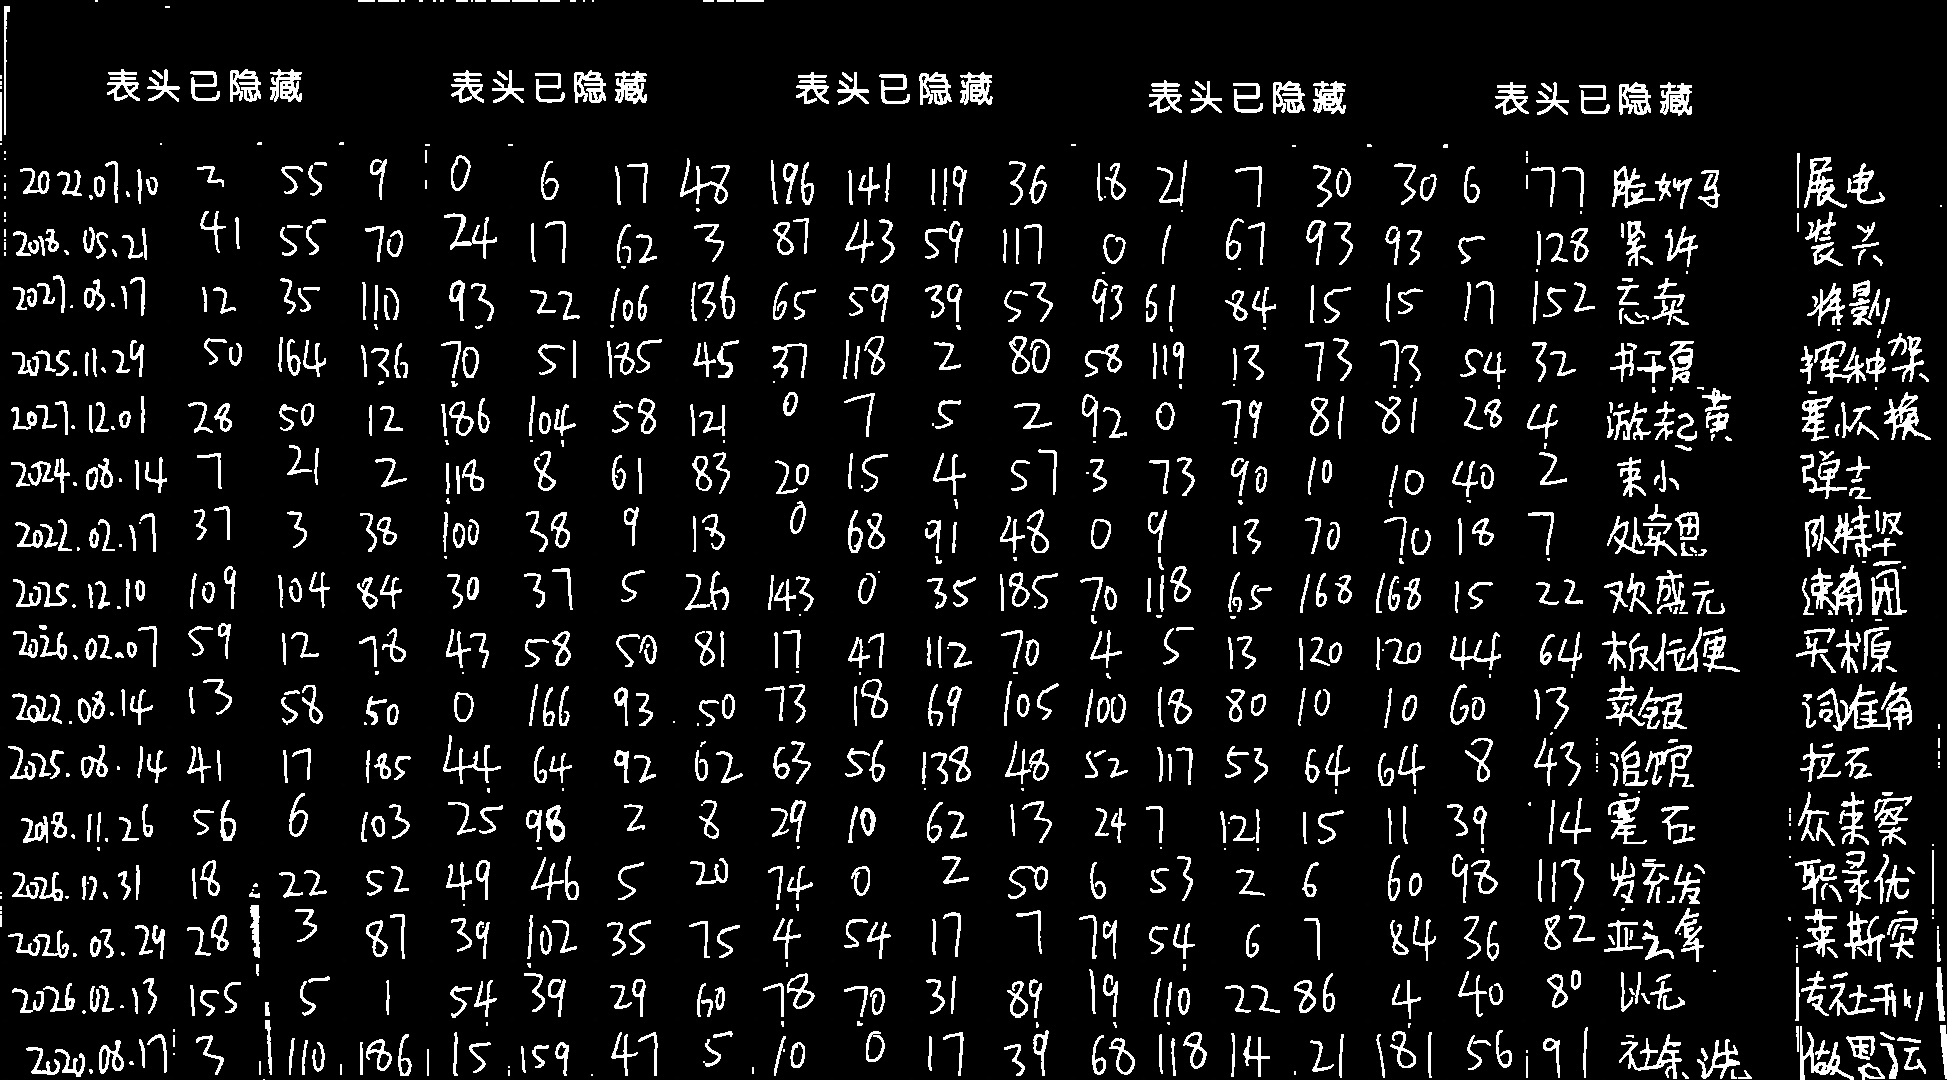
3. 去除噪声与边界线
在完成图像的旋转和透视变换后,我们需要去除图像中的边框线条,进一步提高图像的质量。
warped_image = cv2.imread(r'E:\Machinelearningpractices\C3\tmp\warped.jpg')
img_bin = imutils.resize(warped_image, height=1080)
img_bin = cv2.cvtColor(img_bin, cv2.COLOR_BGR2GRAY)
(thresh, binary_src) = cv2.threshold(img_bin, 128, 255, cv2.THRESH_BINARY_INV | cv2.THRESH_OTSU)
cv2.imwrite('tmp1/binary_src.jpg', binary_src)
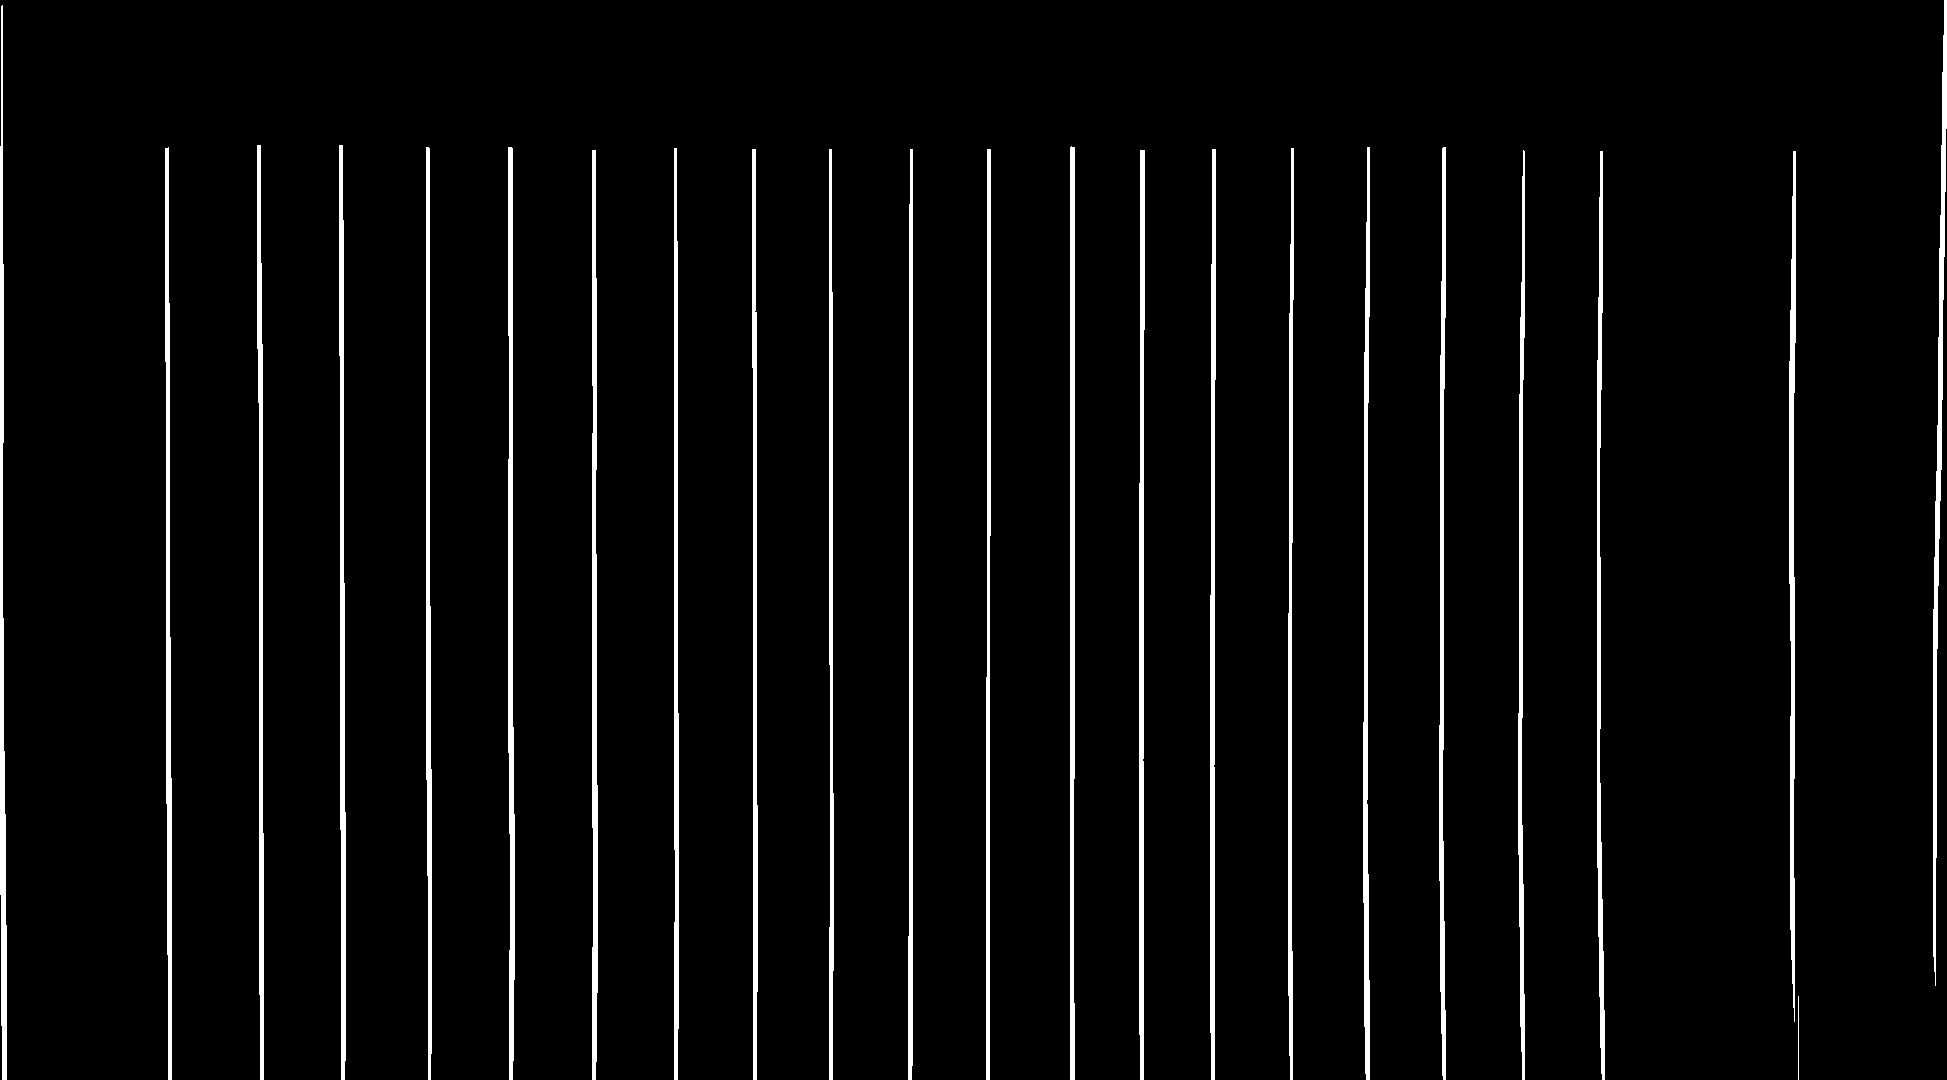
# 定义垂直和水平方向的核大小
kernel_length_horizontal = np.array(binary_src).shape[1] // 100
kernel_length_vertical = np.array(binary_src).shape[0] // 30
# 创建垂直和水平方向的核
verticle_kernel = cv2.getStructuringElement(cv2.MORPH_RECT, (1, kernel_length_vertical))
hori_kernel = cv2.getStructuringElement(cv2.MORPH_RECT, (kernel_length_horizontal, 1))
# 对二值图进行腐蚀和膨胀操作,得到垂直和水平方向的线
img_temp1 = cv2.erode(binary_src, verticle_kernel, iterations=4)
verticle_lines_img = cv2.dilate(img_temp1, verticle_kernel, iterations=4)
cv2.imwrite('tmp/verticle_lines_img.jpg', verticle_lines_img)
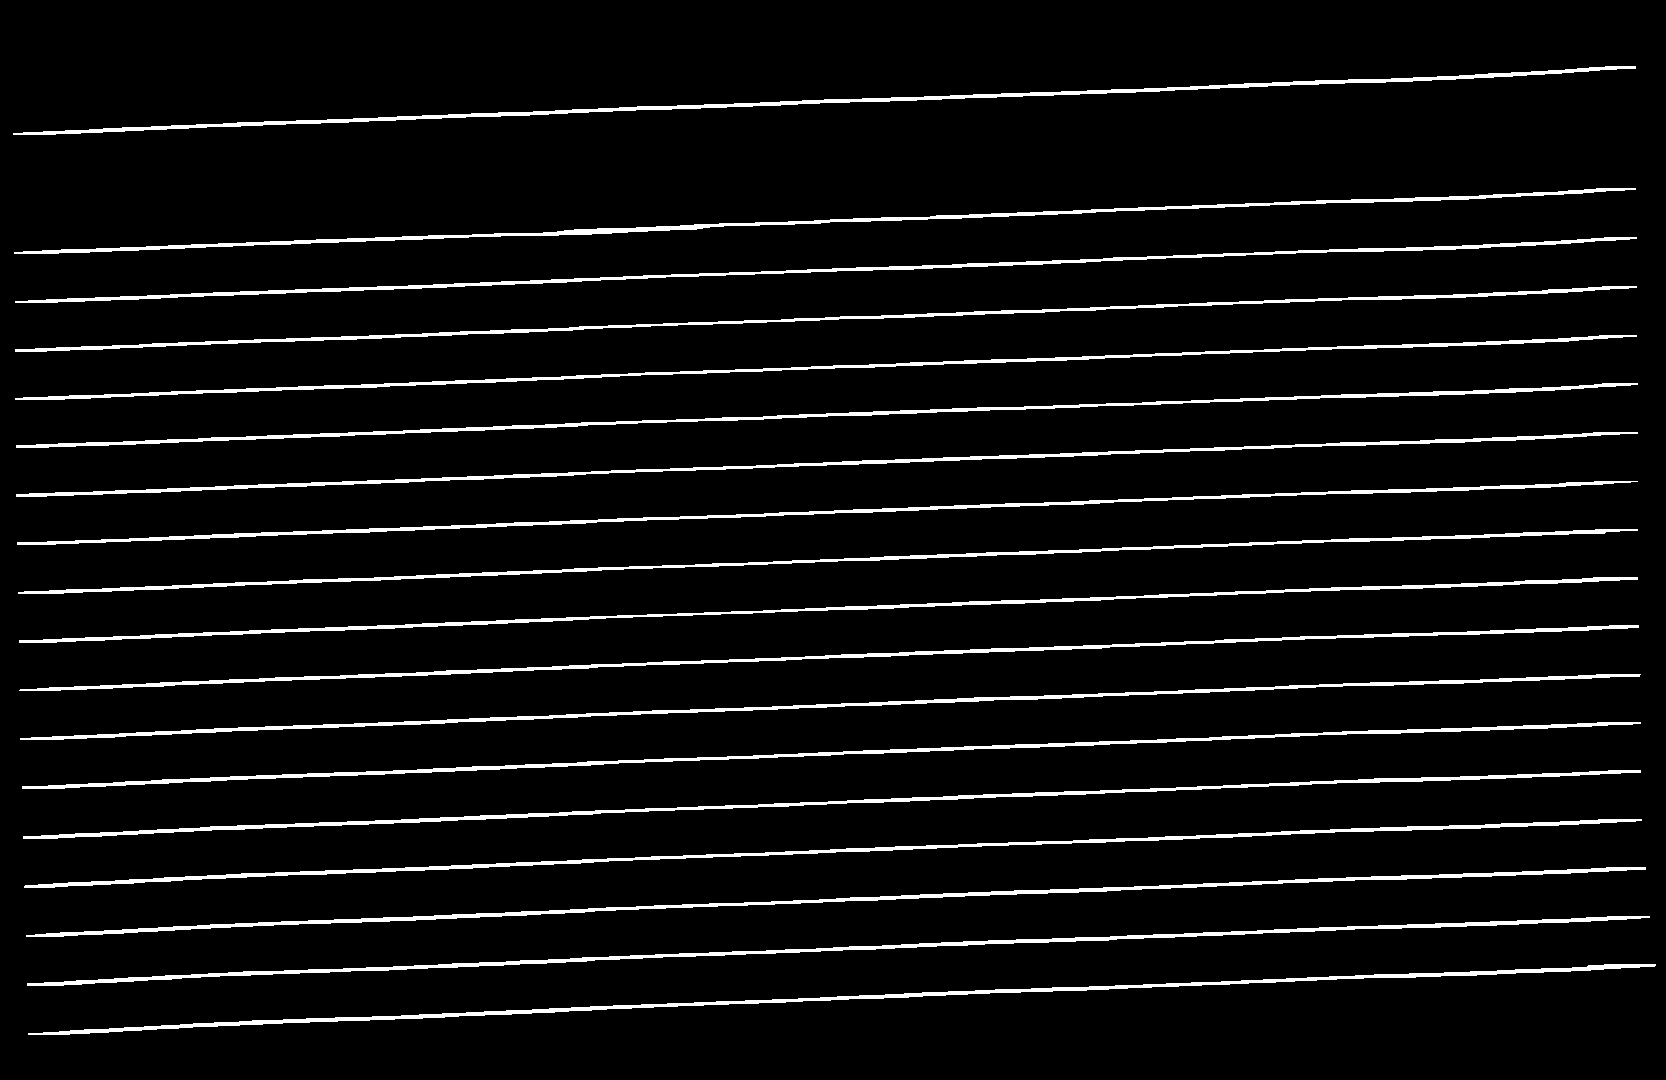
img_temp2 = cv2.erode(binary_src, hori_kernel, iterations=3)
horizontal_lines_img = cv2.dilate(img_temp2, hori_kernel, iterations=3)
cv2.imwrite('tmp/horizontal_lines_img.jpg', horizontal_lines_img)
# 将垂直和水平方向的线相加,得到掩膜图像
mask_img = verticle_lines_img + horizontal_lines_img
# 对二值图和掩膜图像进行异或操作,得到去除线条后的图像
binary_src = np.bitwise_xor(binary_src, mask_img)
cv2.imwrite('tmp/no_norder_image.jpg', binary_src)
# 创建一个小的核,用于去除噪声
clean_kernel = cv2.getStructuringElement(cv2.MORPH_RECT, (2, 2))
# 对去除线条后的图像进行腐蚀和膨胀操作,得到清理噪声后的图像
img_erode = cv2.erode(binary_src, clean_kernel, iterations=1)
binary_src = cv2.dilate(img_erode, clean_kernel, iterations=1)
cv2.imwrite('tmp/no_norder_image_clean.jpg', binary_src)
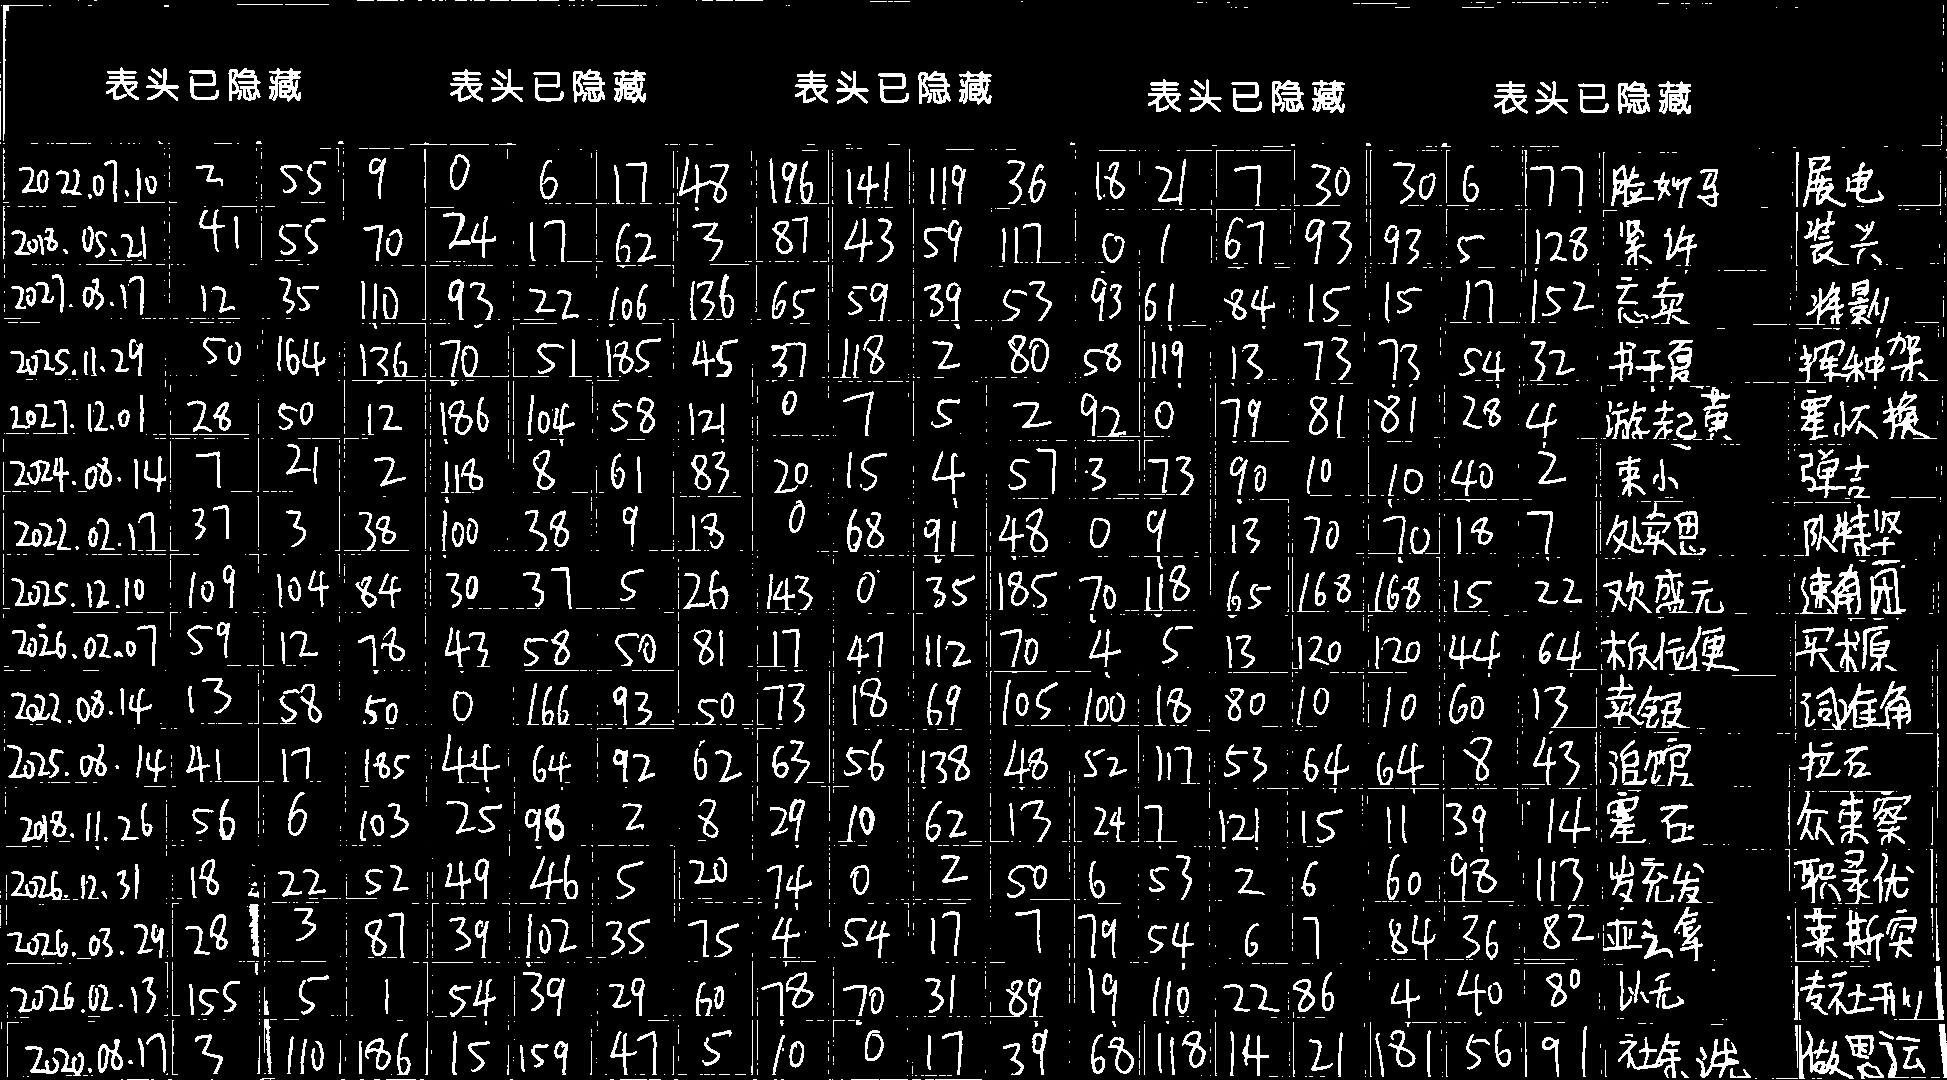
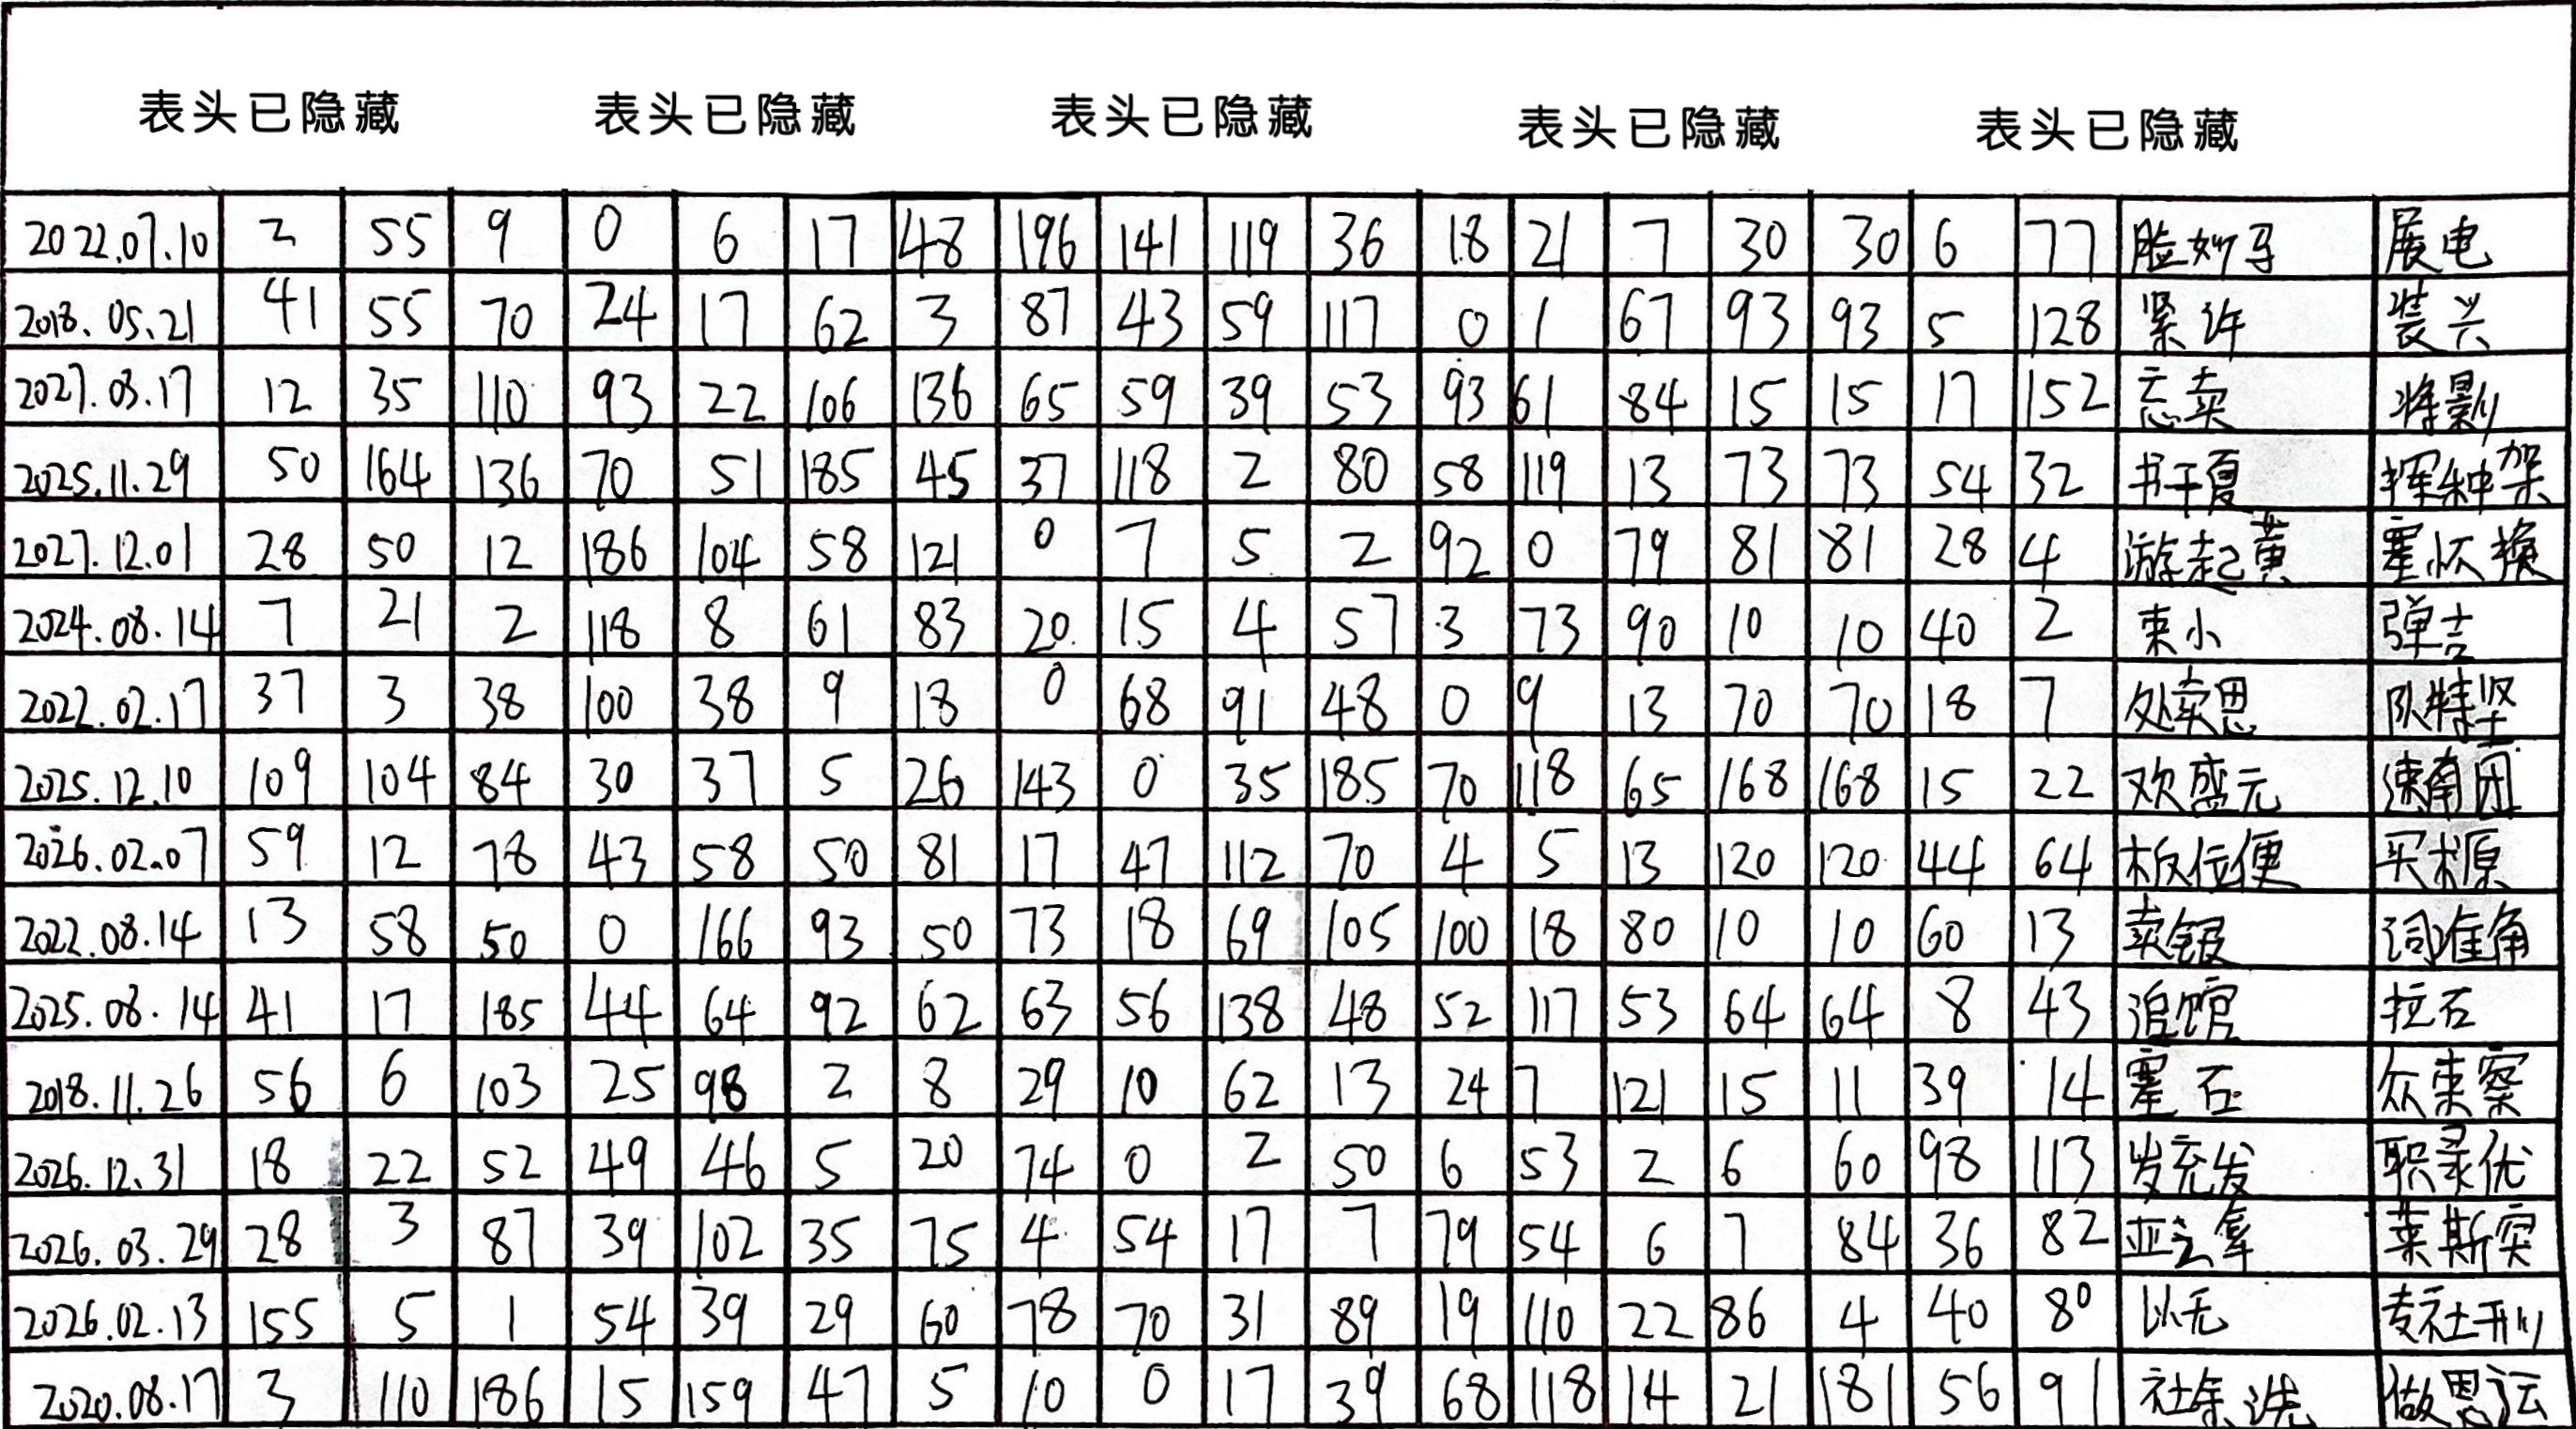
5. 结果展示
通过上述步骤,我们实现了图像的自动旋转校正、透视变换和去噪处理。以下是处理前后的对比图:
# 可视化结果
plt.subplot(121), plt.imshow(cv2.imread('tmp1/rotated.jpg')), plt.title('Rotated')
plt.xticks([]), plt.yticks([])
plt.subplot(122), plt.imshow(cv2.imread('tmp/no_norder_image_clean.jpg')), plt.title('Cleaned')
plt.xticks([]), plt.yticks([])
plt.show()
通过这些处理步骤,我们得到了一个清晰、整洁且无边界的图像。这样的图像非常适合后续的进一步处理和分析,如OCR(光学字符识别)等任务。
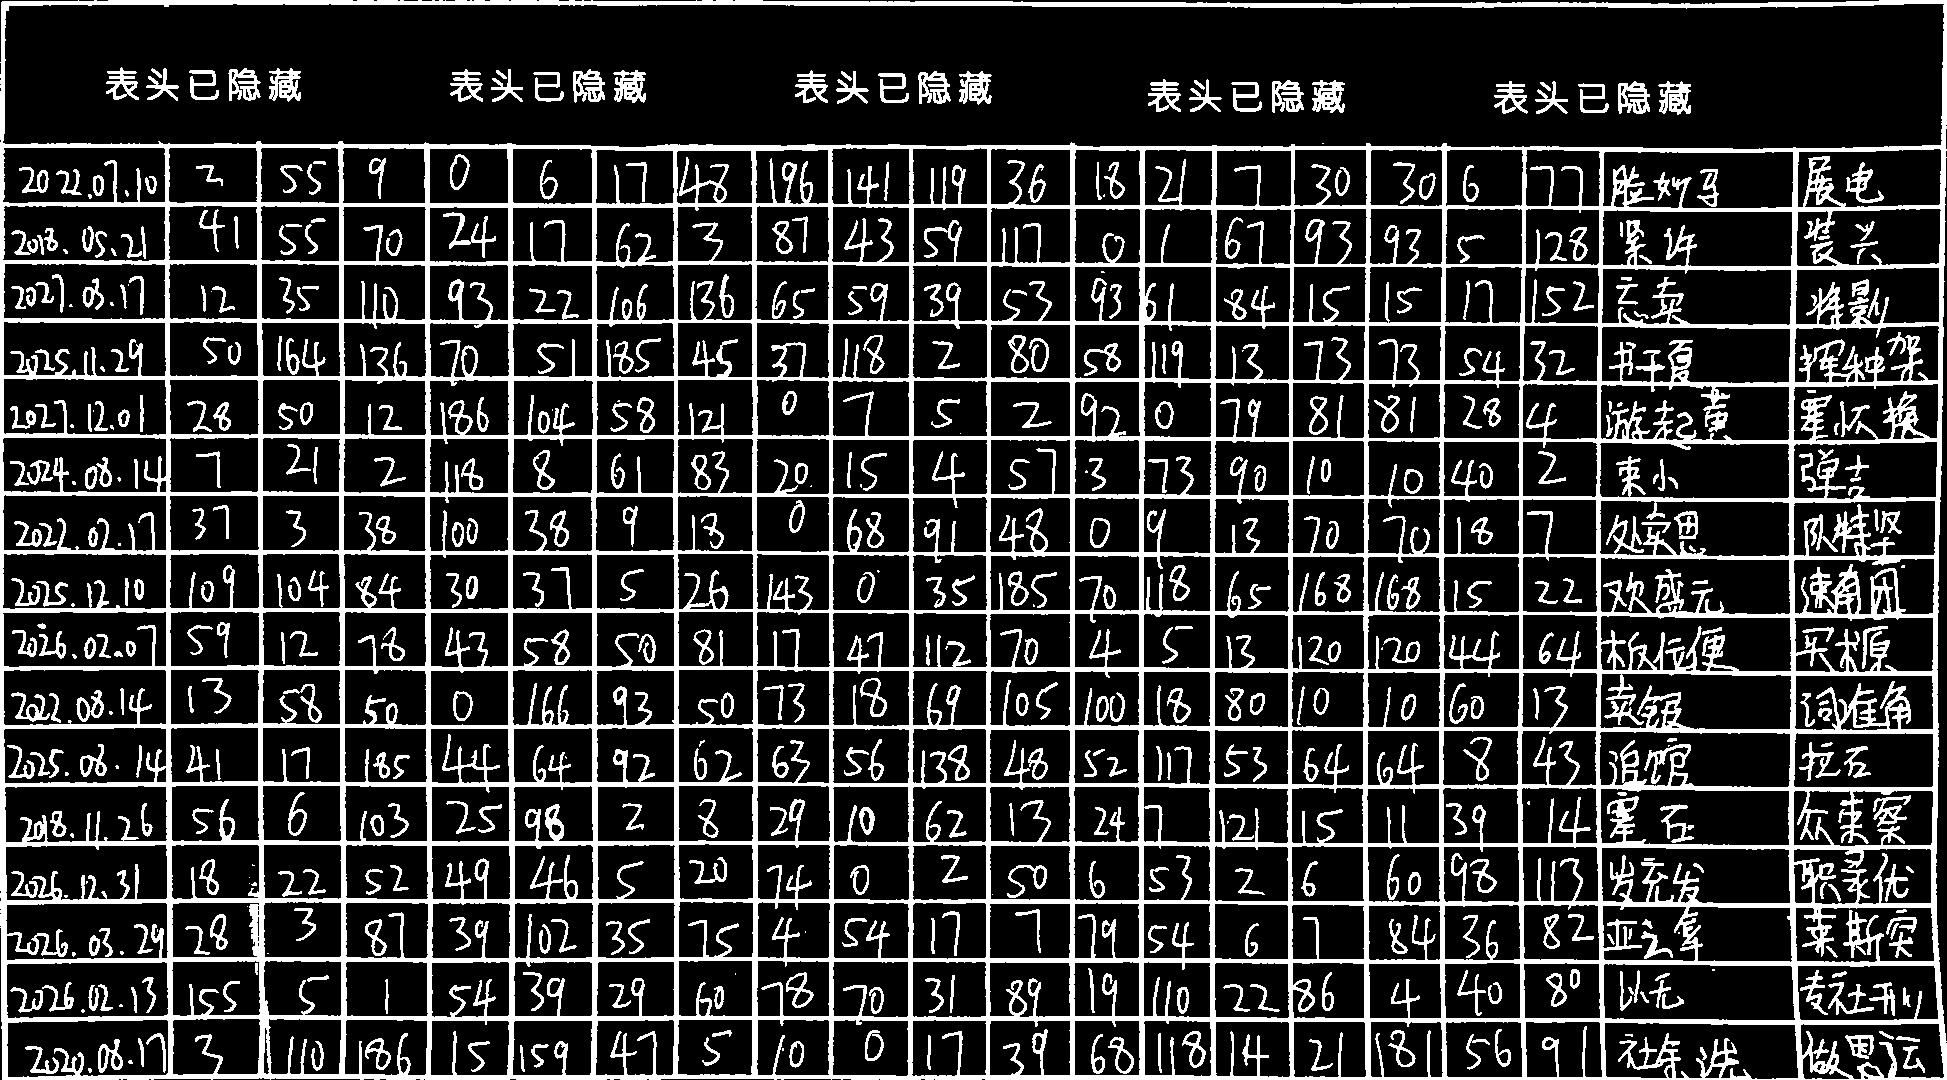
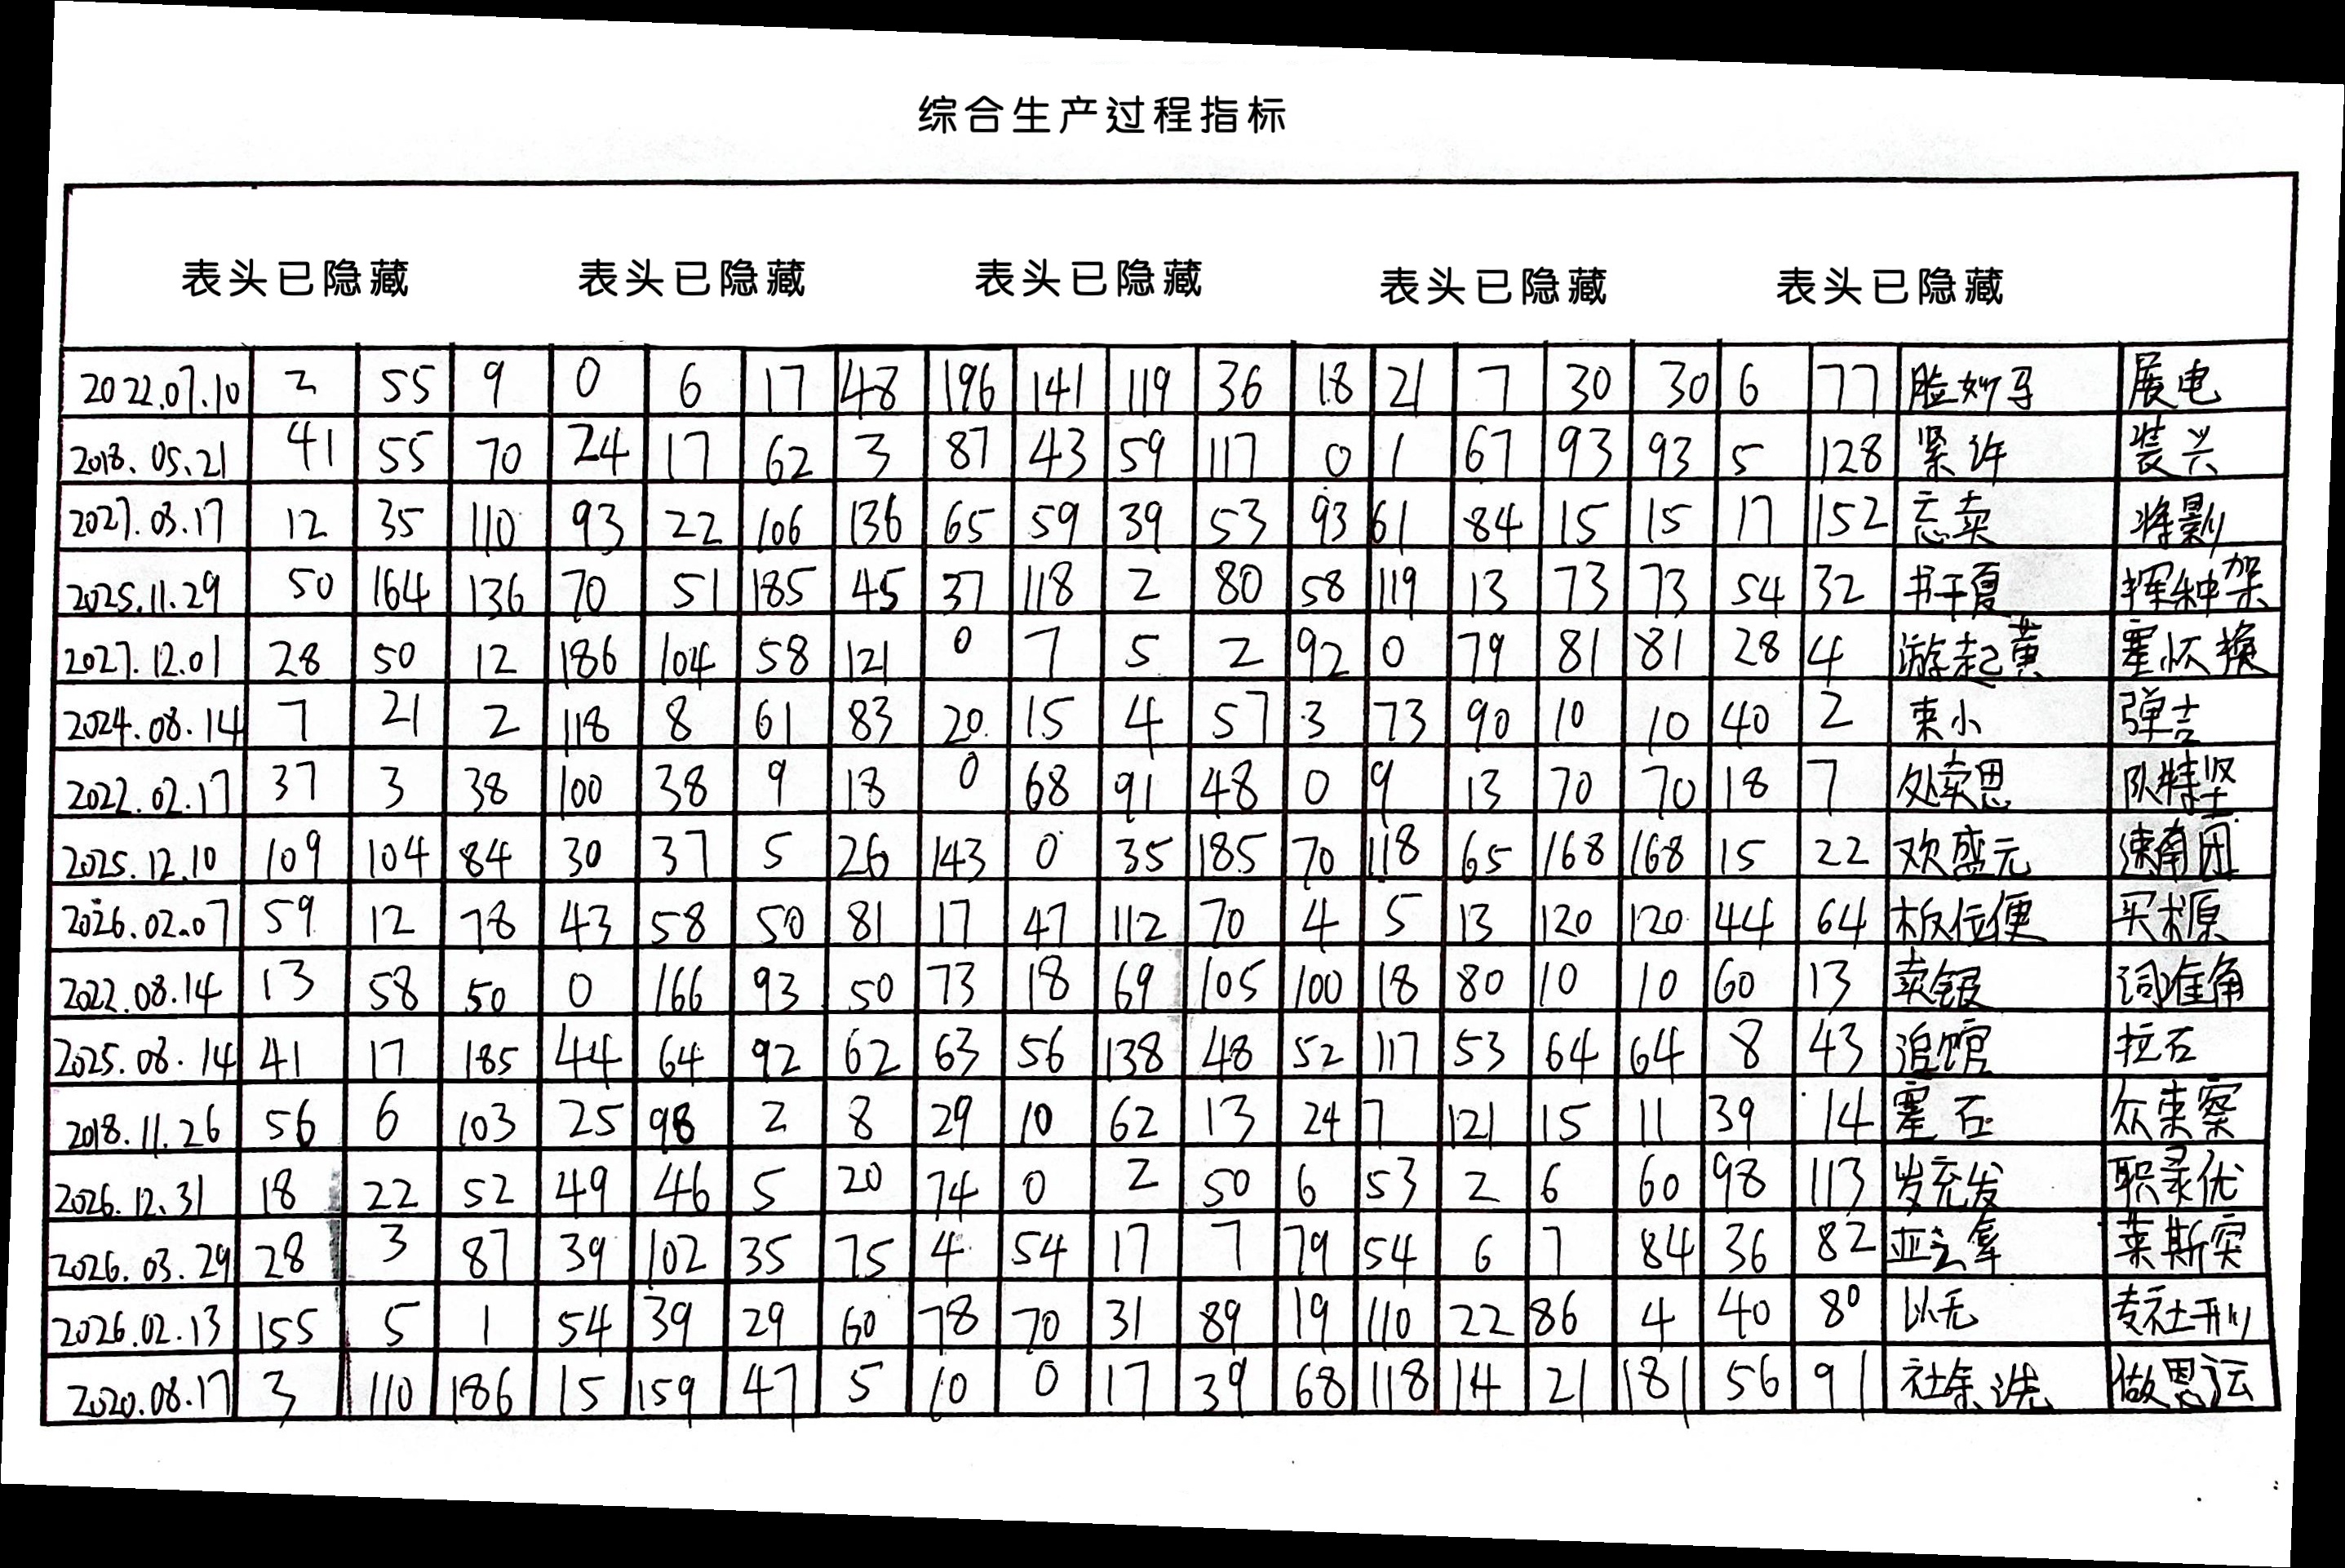
结果图片: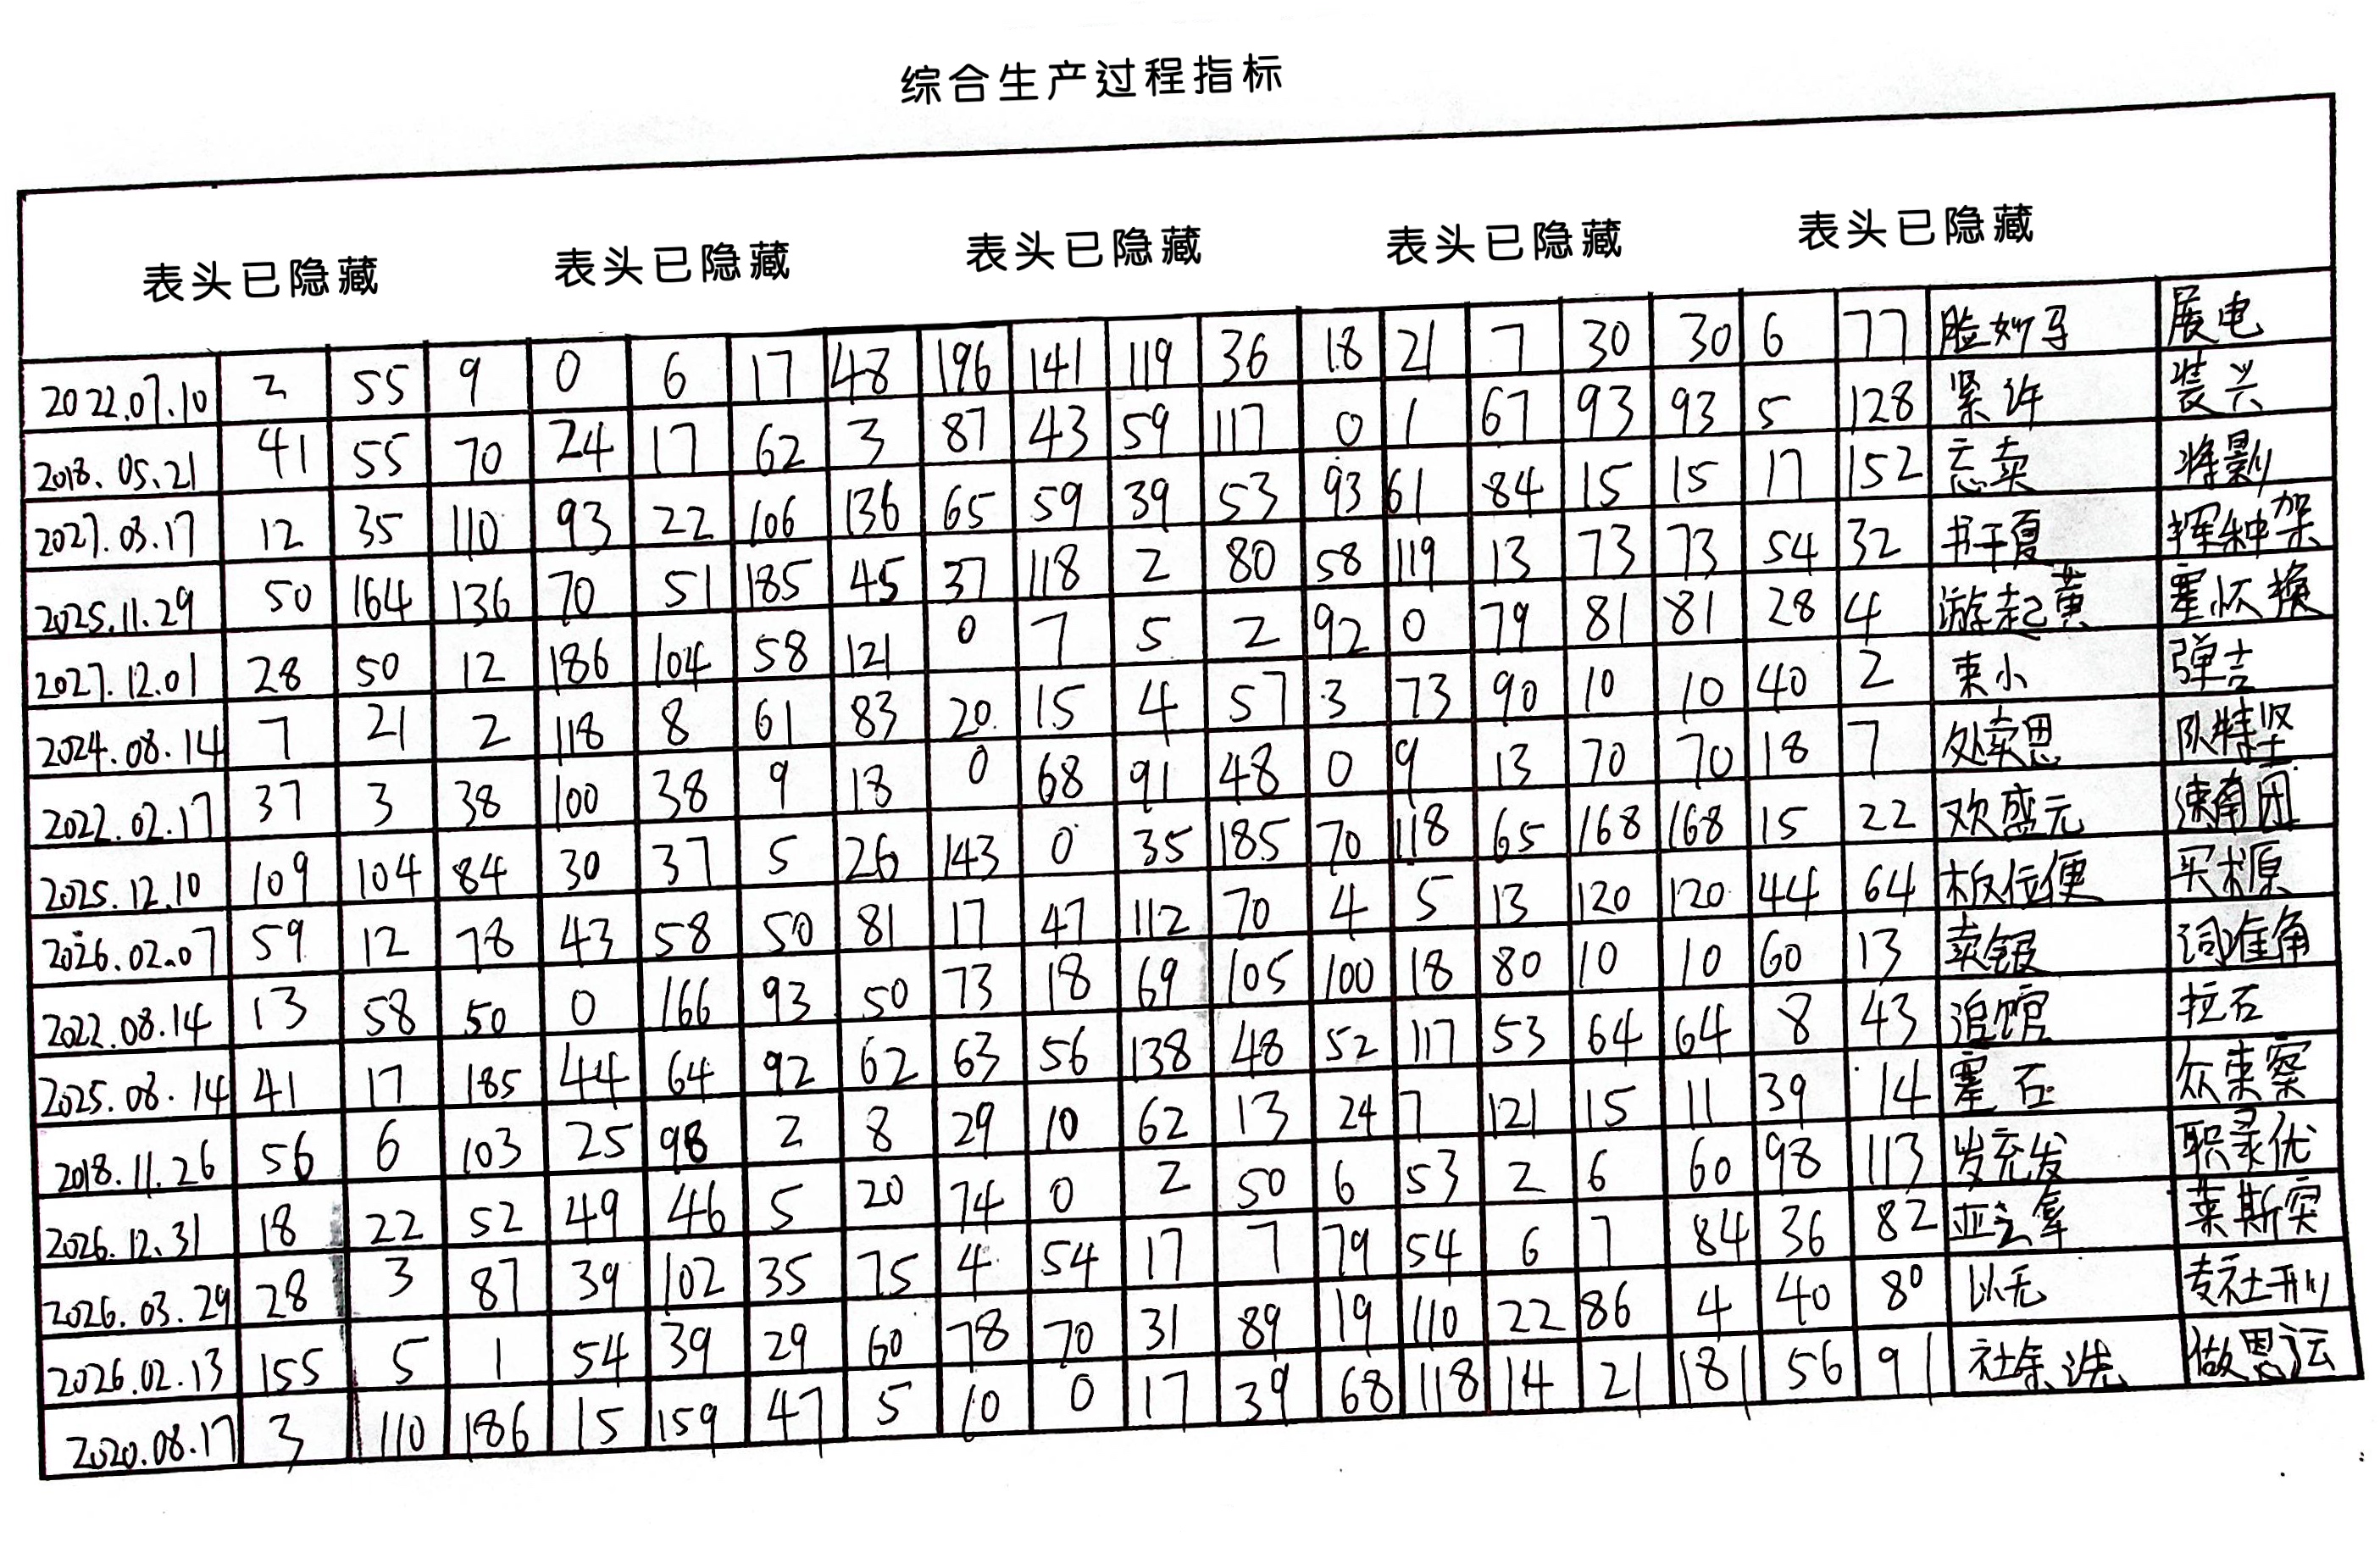

评论区